
The Best Homemade Copycat Eggo Waffles (Dairy-Free and Freezer-Friendly!)
Last Updated: October 13, 2026

An Easy Make-Ahead Dairy-Free Waffle Recipe for Busy Mornings, Freezer Meal Prep and Allergy-Friendly Family Breakfasts!
Hi! I’m Julie, a military spouse, mom of three, and the blogger behind Our Beautiful Chaos.
If you’ve been here a while, you’ll know that most of what I share comes from real life in our home. Busy days, military family life, feeding my boys safely, and finding ways to still put good, comforting food on the table without spending my whole day in the kitchen.
In our family, dairy-free living isn’t a choice or a trend. It’s something we navigate every single day because one of my boys has a life-threatening dairy allergy. That means everything I make has to be safe, but it also has to feel normal, filling, and something everyone actually enjoys eating!
That’s why I care so much about recipes like this one. They make it possible for all of us to enjoy the same food together, without worry.
Store-bought dairy-free waffles are one of those little conveniences I really appreciate having around, especially on homeschool mornings when all three boys seem to wake up hungry at exactly the same time. The problem is that allergy-friendly convenience foods can get expensive very quickly when you are buying enough to feed an entire family.
And in our house, if one of my boys needs the dairy-free version, that’s what everybody eats.
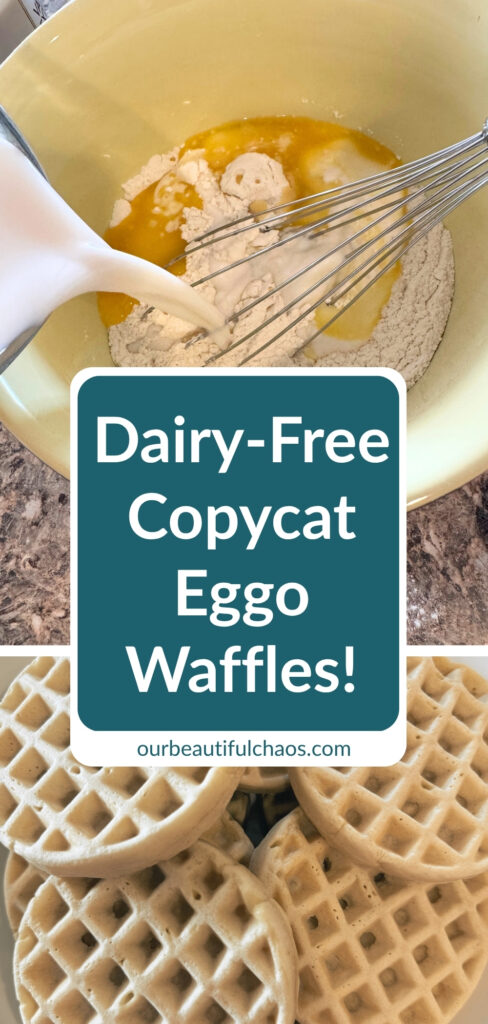
I never want my son with the dairy allergy sitting at our table feeling like he’s been given the “different” breakfast while his brothers get something else. There are obviously times when we have to make individual accommodations, but whenever I can reasonably make one version that everybody enjoys, that’s exactly what I do.
So I’ve spent some time working on a homemade dairy-free waffle that gives us that same easy freezer-and-reheat convenience we love about Eggo-style waffles without constantly buying another box.
These have turned into such a useful breakfast to keep stocked.
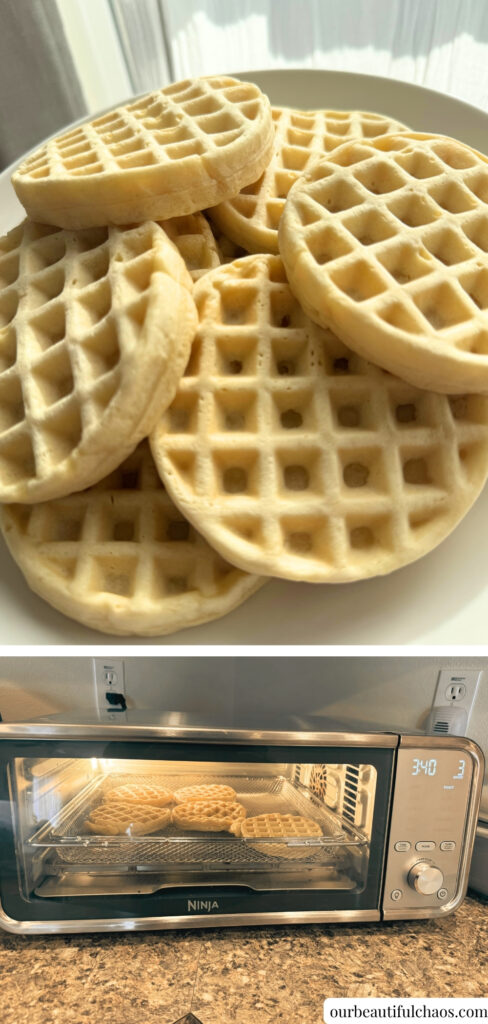
They’re soft and fluffy inside, the baking powder gives them a really nice rise in the waffle maker, and once they’ve cooled they freeze beautifully. I can make a large batch when I have a little extra time, put them into the freezer, then pull out exactly as many as we need on a busy morning.
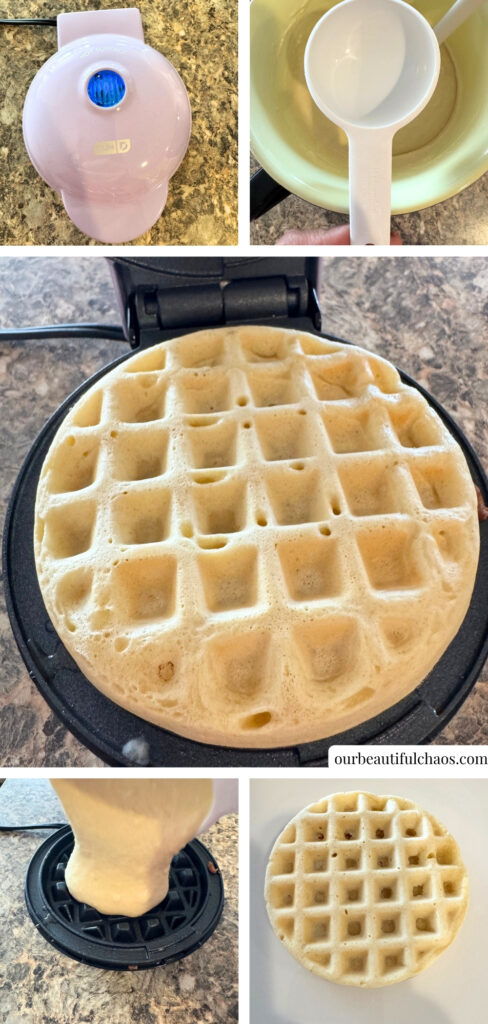
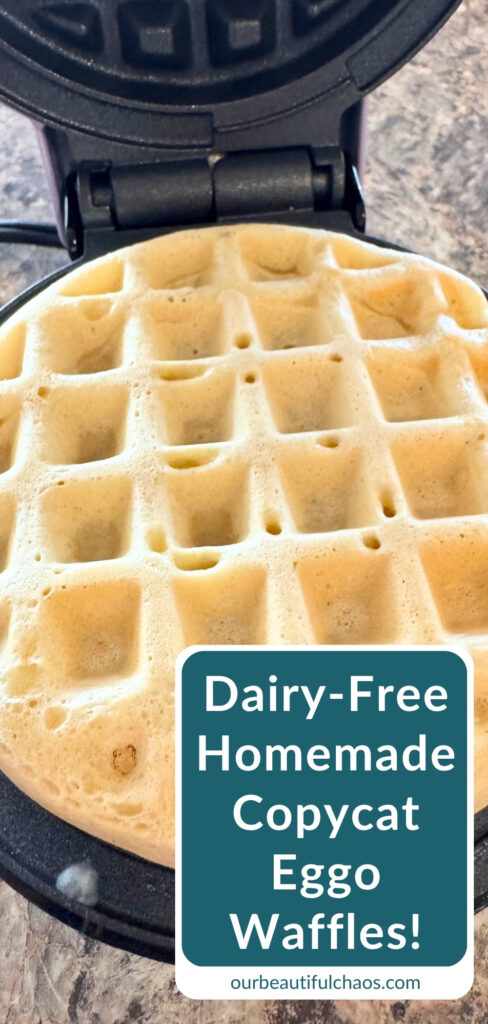
My little Dash waffle maker is particularly handy for these because the waffles come out almost exactly the right size for grabbing straight from the freezer later. I’ve found that about 1/8 cup of batter is plenty for each one. It looks like hardly anything when you pour it onto the iron, but the batter really does puff up once the lid closes, as you can see in the photos.
Then reheating them is just as flexible as reheating the boxed kind. Pop one into the toaster, toaster oven, air fryer, or microwave depending on how crispy you want it and what you already have sitting on the counter.
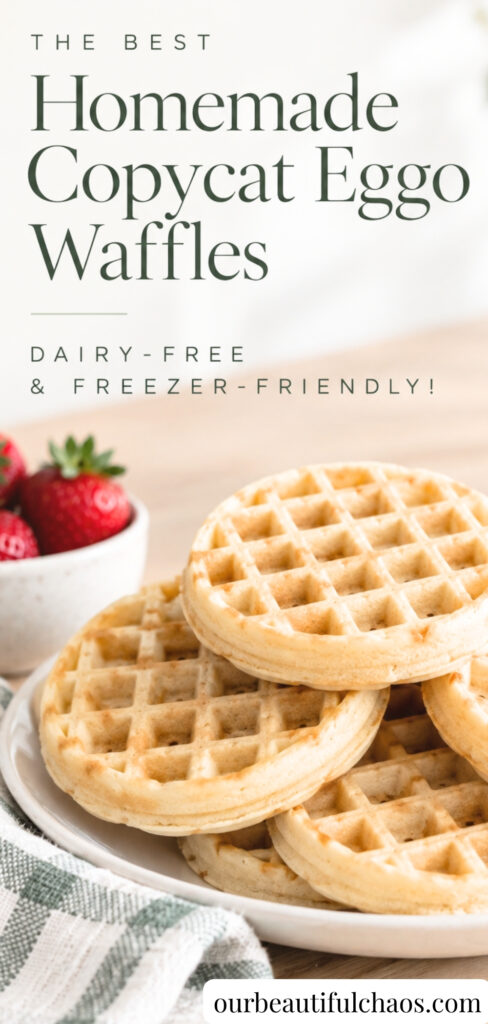
For our family, recipes like this are less about recreating a packaged food perfectly and more about making allergy-friendly living affordable enough to sustain every day. A couple cups of flour, eggs, plant milk, dairy-free butter and pantry basics make a lot more waffles than one small specialty box.
And if you’re looking for dairy free recipes for military families or you’re a service member who needs dairy-free food yourself, this is another really achievable one. These are all ingredients I can grab during a regular commissary shop here on base without needing to make a separate trip to a specialty grocery store.
Make a batch on the weekend, stash them in the freezer, and breakfast for several busy mornings is already taken care of.
Now let’s head into the kitchen and make this together!
Our Beautiful Chaos – Recipe Disclaimer
All recipes are shared as a guide based on what works in my home kitchen. Results may vary.
It is your responsibility to check all ingredients for allergies, intolerances, or dietary needs before cooking. Our Beautiful Chaos is not responsible for any reactions or outcomes from the use of these recipes.
Nutritional information is an estimate only.
– Julie from Our Beautiful Chaos
Equipment
Available on Amazon.com [ad]
- Large mixing bowl
- Whisk
- Liquid measuring cup
- Dry measuring cups
- Measuring spoons
- Microwave-safe jug or small bowl for melting butter
- Waffle maker
- 1/8 cup measuring cup for portioning mini waffles
- Silicone spatula
- Cooling rack
- Freezer-safe bags or airtight freezer container
- Permanent marker for labeling freezer bags
Ingredients
Makes approximately 28 to 32 mini waffles, depending on the size of your waffle maker
- 2 cups all-purpose flour
- 2 teaspoons baking powder
- 2 tablespoons cane sugar
- 1/2 teaspoon salt
- 2 large eggs
- 1 1/2 cups almond milk
- 2 teaspoons vanilla extract
- 6 tablespoons Country Crock Avocado Oil Plant Butter, melted
Substitutions
- Oat milk also works really well here if that’s what your family already uses.
- You can use another dairy-free plant butter in place of the Country Crock too. Just make sure whatever you’re using is safe for your family’s particular allergies.
Step-by-Step Instructions
Step 1: Mix the Dry Ingredients
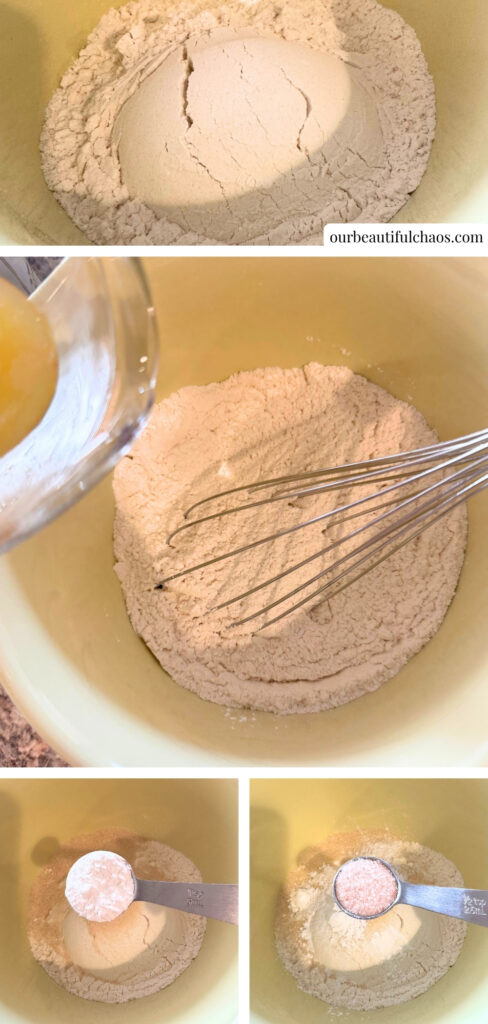
Add the all-purpose flour, baking powder, cane sugar and salt to a large mixing bowl.
Whisk everything together well so the baking powder is distributed evenly throughout the flour.
That baking powder is important here. It is what helps these waffles puff up nicely instead of turning into flat, dense little disks.
Step 2: Add the Melted Dairy-Free Butter
Melt the dairy-free plant butter and pour it into the bowl.
I use Country Crock Avocado Oil Plant Butter, but another dairy-free butter that works for your family is absolutely fine.
Let the butter cool for a minute or two if it’s extremely hot before adding the eggs in the next step.
Step 3: Add the Plant Milk
Pour in the almond milk.
Oat milk is another great choice and gives the waffles a slightly richer texture, so use whichever one you normally keep in your refrigerator.
This is one of those recipes where I really don’t think you need to buy a special ingredient just for one batch of waffles.
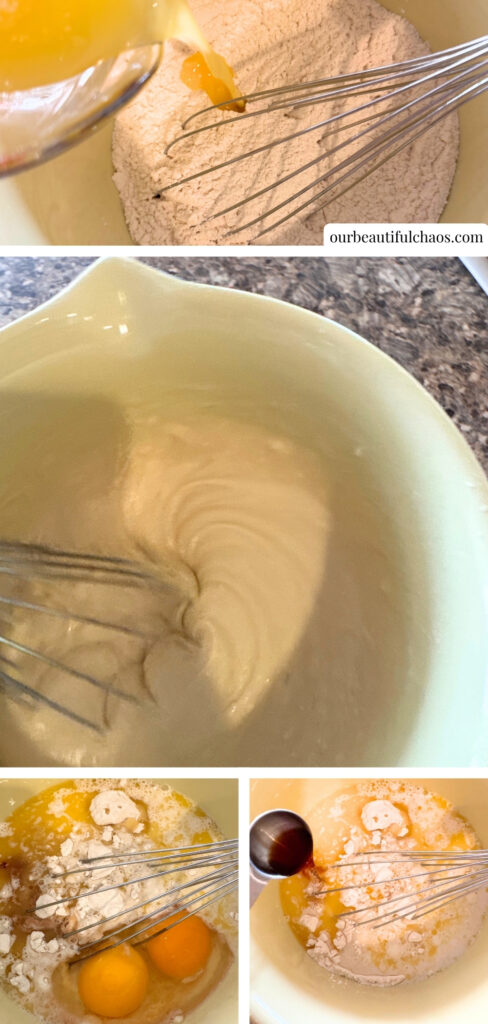
Step 4: Add the Vanilla and Eggs
Pour in the vanilla extract, then crack in both eggs.
Whisk everything together until the batter is smooth and you don’t see large pockets of dry flour remaining.
A few tiny lumps are perfectly fine. You don’t need to keep whisking until the batter is completely flawless.
Step 5: Let the Batter Sit Briefly
Give the batter about 5 minutes to rest while your waffle maker heats.
This short rest gives the flour time to hydrate and allows the baking powder to start doing its job.
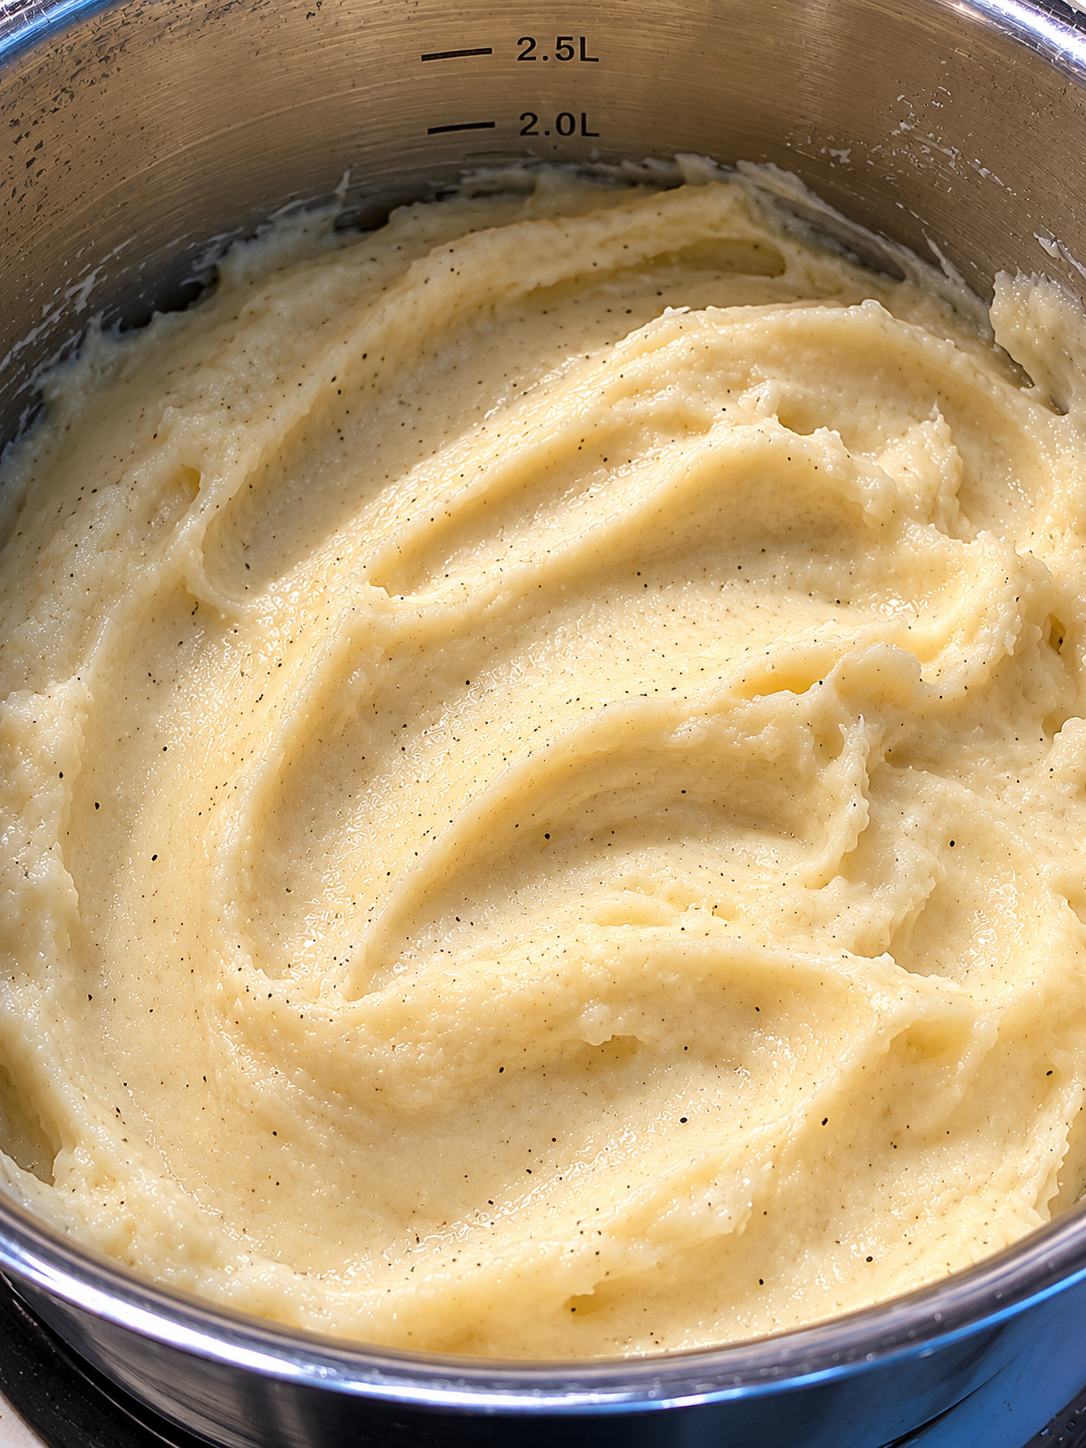
You’ll notice the batter becomes thick, smooth and almost stretchy-looking once everything has come together.
Step 6: Preheat the Waffle Maker
Preheat your waffle maker according to the manufacturer’s directions.
I use a little Dash mini waffle maker, and it is absolutely perfect for making freezer waffles.
For mine, 1/8 cup of batter is just right.
Do not be tempted to fill the entire waffle plate with batter before closing the lid. These puff much more than you might expect.
Step 7: Cook the Waffles
Pour approximately 1/8 cup batter into the center of the preheated mini waffle maker.
Close the lid and cook until the waffle is set and lightly golden.
Exact cooking time will depend on your waffle maker, so your first waffle is always a useful test run.
Once you’ve made one or two you’ll quickly figure out the sweet spot for your machine.
Step 8: Remove and Cool
Carefully lift the cooked waffle from the waffle maker and transfer it to a cooling rack.
Repeat with the remaining batter.
Try not to stack hot waffles immediately after cooking because all that trapped steam can make them soft and slightly damp.
Letting them cool individually first gives you a much better freezer waffle later.
Step 9: Cool Completely Before Freezing
Once all the waffles are cooked, allow them to cool completely.
This part really matters if you’re planning to freeze them.
Putting warm waffles straight into a freezer bag creates condensation, which eventually turns into ice crystals and can make the waffles soggy when reheated.
How to Freeze Homemade Dairy-Free Waffles
Once completely cool, arrange the waffles in a freezer-safe bag or airtight container.
If you’re worried about them sticking together, place a small piece of parchment paper between each waffle. I usually find that once they’re properly cooled first, mine separate fairly easily anyway.
Label the bag with the date and freeze for up to 3 months.
You can also flash-freeze them first by placing the cooled waffles in a single layer on a tray for about an hour, then transferring them to a freezer bag. That’s especially useful if you’re making a very large batch.
How to Reheat Frozen Homemade Waffles
You do not need to thaw these first. That’s the entire point – they’re just like the store bought freezer waffles! Here’s how to reheat them:
Toaster
Toast directly from frozen until heated through and lightly crisp.
Toaster Oven
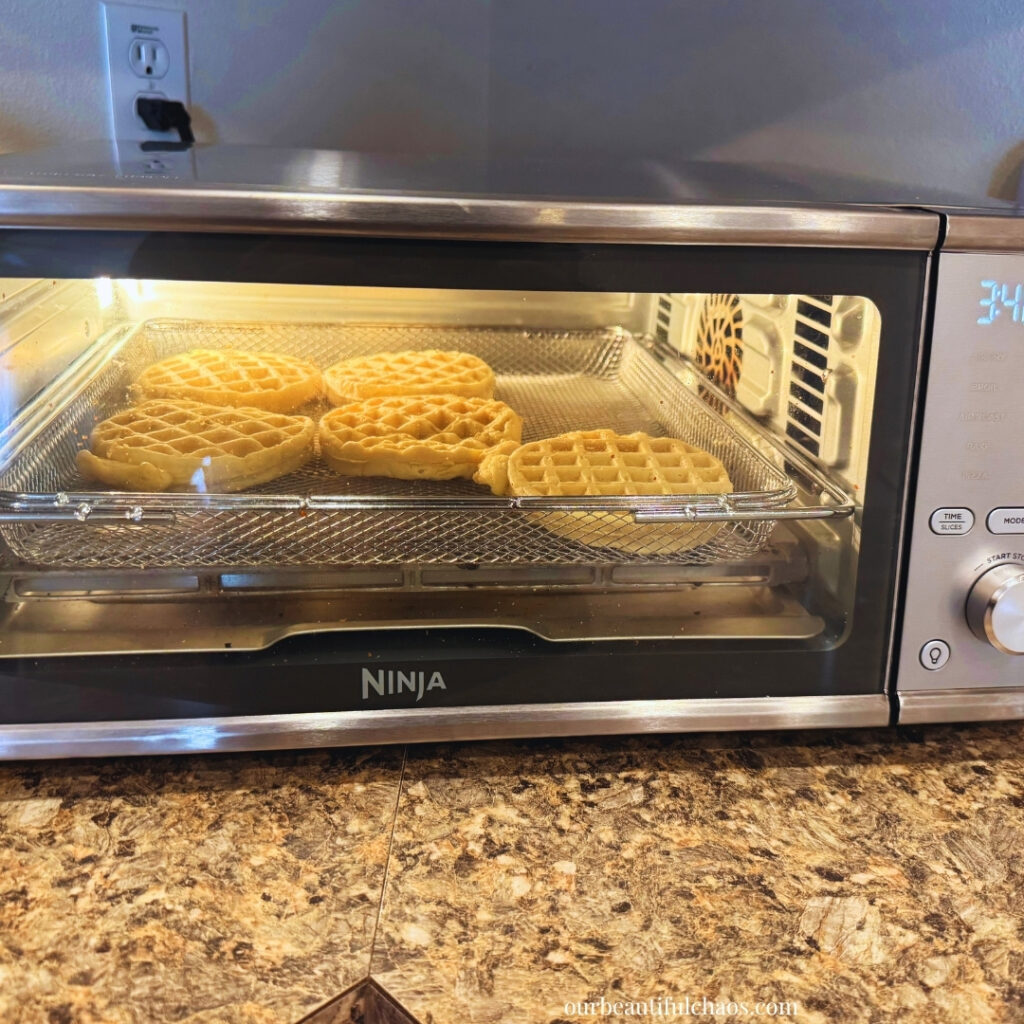
Place directly onto the rack or tray and heat at around 350°F for 4 to 6 minutes, depending on your appliance.
Air Fryer
Air fry at around 350°F for 3 to 5 minutes, checking early so they don’t become too crisp. As you can see in my photos, this works really well when I’m reheating several waffles at once.
Microwave
Microwave one waffle for approximately 20 to 30 seconds, adding additional time as needed.
The microwave gives you a softer waffle, while the toaster, toaster oven or air fryer will restore more of that crisp exterior.
Notes
- Almond milk and oat milk both work well.
- Let melted plant butter cool slightly before adding the eggs.
- Baking powder is important for that fluffy, raised texture.
- For my mini Dash waffle maker, approximately 1/8 cup batter is perfect.
- Different waffle makers will require different quantities of batter and cooking times.
- Let waffles cool completely before freezing.
- Freeze for up to 3 months.
- Reheat straight from frozen.
Troubleshooting
First check your baking powder. If the container has been sitting in your pantry for a very long time, it may have lost some of its effectiveness. Fresh baking powder makes a noticeable difference in this recipe. Also avoid overmixing the batter. Whisk until the ingredients are combined, then stop.
Too much batter. Mini waffle makers need surprisingly little. With my Dash waffle maker, 1/8 cup is enough because the batter expands considerably while cooking. Use slightly less next time if your particular waffle iron is overflowing around the edges.
Make sure your waffle maker is fully preheated before adding the batter. If your waffle maker isn’t particularly nonstick anymore, lightly grease it with a small amount of dairy-free butter or neutral cooking spray that is safe for your family’s dietary needs. Also give the waffle enough time to cook before opening the lid. A waffle that hasn’t fully set is much more likely to tear.
They may simply need another minute in the waffle maker. Every machine cooks differently, and mini makers in particular can vary quite a bit. Sometime I will even purposefully make my waffles as pale as possible as my youngest son doesn’t like anything he thinks is ‘overcooked’!
Reduce the cooking time slightly. If your waffle maker has an adjustable temperature setting, lower it.
They were most likely still warm when they went into the freezer bag. Cool them completely before packaging. Moisture trapped in the bag freezes onto the waffles and makes them softer when reheated.
Either flash-freeze them first or place small pieces of parchment paper between each one. Cooling them thoroughly before freezing also helps.
It should. This batter isn’t supposed to be as thin as pancake batter. A thicker batter helps create those fluffy little freezer-style waffles. If it is unusually thick because your flour was packed heavily into the measuring cup, add a tablespoon or two of plant milk.
Double-check your flour measurement. If necessary, whisk in another tablespoon or two of flour until the batter thickens.
Storage
- Store cooked waffles in an airtight container in the refrigerator for up to 3 days.
- For longer storage, freeze completely cooled waffles for up to 3 months.
- There is no need to thaw them before reheating.
Serving Ideas
- Dairy-free butter and maple syrup
- Fresh strawberries or raspberries
- Sliced bananas
- Peanut butter or another safe nut or seed butter
- Dairy-free yogurt
- Cinnamon and a little powdered sugar
- Fresh fruit on the side
- Scrambled eggs
- Breakfast sausage
- Dairy-free whipped topping for a weekend treat
Why You’ll Love This Recipe?!
- Completely dairy-free
- Freezer-friendly
- Great alternative to expensive store-bought dairy-free waffles
- Family-friendly
- Perfect for meal prep
- Uses basic pantry ingredients
- Almond milk or oat milk both work
- Easy to reheat from frozen
- Works beautifully in a mini waffle maker
- Great for busy homeschool mornings
- Helps make one safe breakfast everyone in the family can enjoy
FAQs
The key is getting a light, fluffy batter with enough baking powder to create that signature airy texture. Using melted dairy-free butter also gives these waffles a richer flavor while helping the edges crisp up beautifully. Once frozen and reheated, they taste remarkably similar to the boxed version.
Yes! These waffles were actually developed with freezing in mind. Let them cool completely after cooking, then store them in a freezer-safe bag or airtight container for up to 3 months. They’re perfect for busy weekday mornings.
My favorite methods are the toaster, toaster oven, or air fryer because they crisp the outside while keeping the middle soft and fluffy. If you’re in a hurry, the microwave works too, although the waffles will be softer.
Absolutely. There’s no need to thaw them first. Simply toast them straight from the freezer until they’re hot and lightly crisp, just like store-bought frozen waffles.
Yes! I often use almond milk, but oat milk works just as well and produces fluffy, delicious waffles. Most unsweetened plant milks should work, although they may change the flavor slightly.
I usually use Country Crock Avocado Oil Plant Butter because it melts well and gives these waffles great flavor and texture. Other dairy-free buttery spreads should also work, but always double-check ingredient labels if you’re cooking for someone with food allergies.
The most common cause is old baking powder that has lost its lifting power. Overmixing the batter can also make waffles dense. Mix just until everything comes together, then cook the batter right away for the best rise.
I don’t recommend it for this recipe. Baking powder begins working as soon as the wet and dry ingredients are combined, so you’ll lose some of that fluffy texture if the batter sits overnight. Instead, cook the waffles completely and freeze them.
I use about 1/8 cup of batter for each waffle in my Dash Mini Waffle Maker. It may not look like enough at first, but the batter expands nicely as it cooks.
Yes! This recipe works well in both mini and standard waffle makers. Simply use enough batter to suit your waffle maker and cook according to the manufacturer’s instructions.
In my experience, absolutely. Dairy-free frozen waffles can become surprisingly expensive, especially if you have several kids who love them. Making a batch at home costs much less and fills your freezer with ready-to-go breakfasts.
I haven’t personally tested this recipe with an egg replacer, so I can’t guarantee the same fluffy texture. If you experiment with an egg substitute, you may need to adjust the liquid slightly.
Definitely. This recipe doubles beautifully and is one of my favorite batch-cooking breakfasts. Make a large batch once, freeze the extras, and you’ll have homemade waffles ready whenever your family wants them.
Allow the waffles to cool completely before freezing. For even easier storage, freeze them in a single layer for about an hour first, then transfer them to a freezer bag. You can also place small sheets of parchment paper between them if needed.
Some varieties may contain dairy while others may not, and ingredients can change over time. Always check the packaging for the most up-to-date allergen information. I created this homemade version so I know exactly what’s in every waffle and can confidently serve them to my family.

Equipment
- Large mixing bowl
- Whisk
- Measuring cups
- Measuring spoons
- Liquid measuring cup
- Microwave-safe bowl or jug
- Waffle maker
- 1/8 cup measuring cup for mini waffles
- Silicone spatula
- Cooling rack
- Freezer-safe storage bags
Ingredients
- 2 cups all-purpose flour
- 2 tsp baking powder
- 2 tbsp cane sugar
- 1/2 tsp salt
- 2 large eggs
- 1 1/2 cups almond milk or preferred plant milk (oat milk works great too!)
- 2 tsp vanilla extract
- 6 tbsp Country Crock Avocado Oil Plant Butter, melted or similar dairy-free plant butter
Instructions
- Add the flour, baking powder, cane sugar and salt to a large mixing bowl. Whisk until evenly combined.
- Melt the dairy-free plant butter and allow it to cool slightly.
- Add the melted plant butter, almond milk and vanilla extract to the dry ingredients.
- Crack in the eggs.
- Whisk everything together until the batter is smooth and combined. Avoid overmixing.
- Allow the batter to rest for approximately 5 minutes while the waffle maker preheats.
- Preheat your waffle maker according to the manufacturer's directions.
- Portion out your batter per waffle accoridng to the manufacturers guidelines. For a Dash mini waffle maker, I pour approximately 1/8 cup batter into the center of the hot waffle iron.
- Close and cook until the waffle is set and lightly golden. Cooking time will vary depending on your waffle maker.
- When they are cooked fully, remove the waffle and transfer it to a cooling rack.
- Repeat with remaining batter. Serve immediately or allow the waffles to cool completely before freezing.
Notes
- Almond milk and oat milk both work well.
- Approximately 1/8 cup batter works perfectly in Julie’s Dash mini waffle maker.
- Batter should be fairly thick.
- Do not overmix.
- Fresh baking powder gives the best rise.
- Cool waffles completely before freezing.
- Freeze in an airtight freezer bag or container for up to 3 months.
- Reheat directly from frozen in a toaster, toaster oven, air fryer or microwave.
Related Recipes
Join our community!
It’s so important to be part of a community that not only understands you but that champions you, encourages, challenges and cheers you on. We couldn’t find one – so we created it instead!
Join the Side Hustle Homemaker’s team Sam, Mona and I over at the Recipes, Homesteading & More! Facebook group for Food Blogging Tips, Homesteading and Homemaking content and encouragement!
We’re 3 very different US/UK military families who met and became instant forever friends.
We created the group to share real life around recipes, food blogging, homemaking, military life, homesteading and more. Head on over, say Hi, share your recipes, homemaking tips and gain some friends and knowledge along the way!
The Takeaway
Making these dairy-free freezer waffles at home means I can keep the same easy grab-and-reheat breakfast my boys love without constantly paying allergy-friendly convenience food prices.
Flour, eggs, almond milk, vanilla, baking powder and plant butter turn into a big batch that can be cooled, frozen and reheated just like the boxed waffles we used to buy.
More importantly for me, everybody gets the same breakfast. My son with the dairy allergy isn’t handed something separate while his brothers eat another version, and I still get the convenience of having breakfast sitting in the freezer ready for a busy morning!
What To Make Next?!



Share & Rate This Recipe!
If you tried this recipe, please share your feedback with a quick star rating or comment below. And if you loved it, don’t forget to share it with friends and family too!
Published in collaboration with Far From The Farm – part of the Side Hustles Homemakers Team!



One Comment