
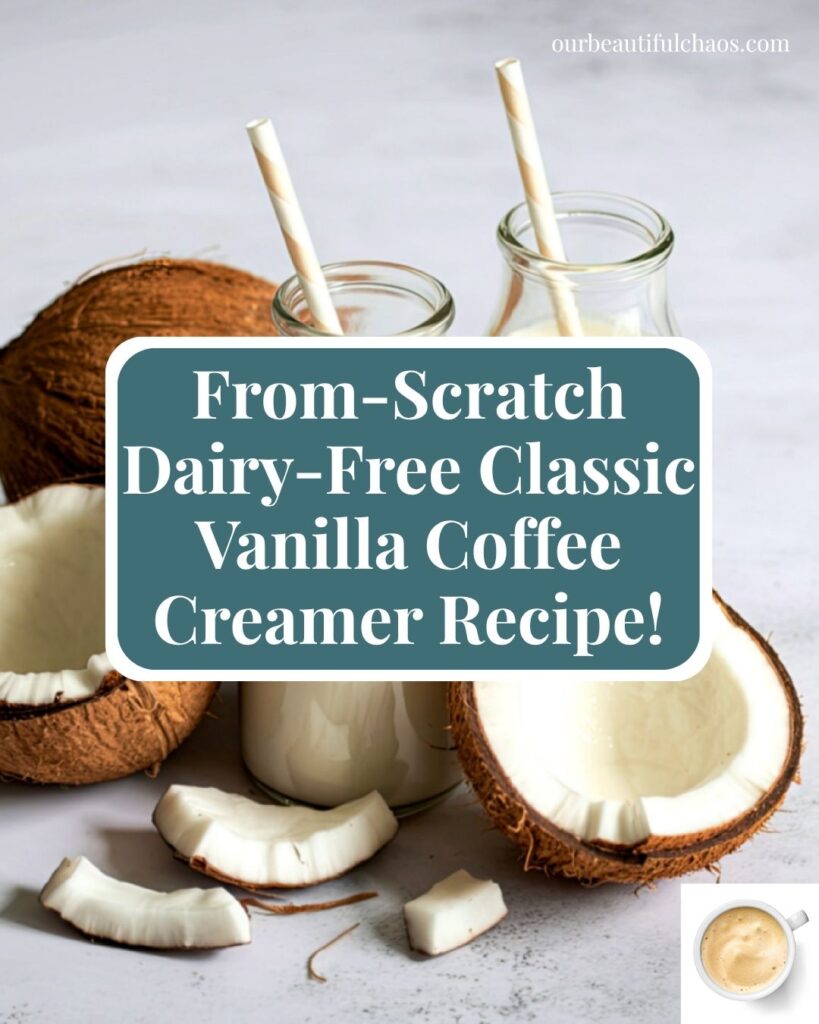
From-Scratch Dairy-Free Classic Vanilla Coffee Creamer Recipe!

A Cozy Homemade Dairy-Free Vanilla Coffee Creamer That’s Budget Friendly, Smooth, Creamy, and Perfect for Everyday Coffee!
Hi! I’m Julie, a military spouse, mom of three, and the blogger behind Our Beautiful Chaos.
If you’ve been here a while, you’ll know that most of what I share comes from real life in our home. Busy days, military family life, feeding my boys safely, and finding ways to still put good, comforting food on the table without spending my whole day in the kitchen.
In our family, dairy-free living isn’t a choice or a trend. It’s something we navigate every single day because one of my boys has a life-threatening dairy allergy. That means everything I make has to be safe, but it also has to feel normal, filling, and something everyone actually enjoys eating!
That’s why I care so much about recipes like this one. They make it possible for all of us to enjoy the same food together, without worry.
Some mornings just call for simple comfort. Not fancy coffee shop drinks or complicated syrups. Just a good cup of coffee that tastes creamy, cozy, and a little special before the chaos of the day fully kicks in.
That’s exactly why I started making homemade coffee creamers.
Store-bought dairy-free creamers can get expensive surprisingly quickly, especially when you’re buying them regularly for a busy household. And honestly, some of them are packed with oils and ingredients I can barely pronounce. I wanted something simpler that still tasted really good.
This classic vanilla version has quickly become one of my favorites because it works with absolutely everything. Hot coffee, iced coffee, cold brew, even chai tea. The maple syrup gives it a gentle sweetness while the vanilla makes it taste smooth, warm, and comforting without being overpowering.
And best of all? These are ingredients I can easily grab right from the Commissary on base, which makes recipes like this feel realistic for dairy-free military families like ours.
Most mornings around here are far from peaceful. Someone needs help finding socks, somebody forgot homework, and my coffee usually gets reheated at least once before I finish it. Real life.
But little recipes like this make those busy mornings feel a tiny bit cozier.
Now let’s head into the kitchen and make this together in just a few minutes!
Our Beautiful Chaos – Recipe Disclaimer
All recipes are shared as a guide based on what works in my home kitchen. Results may vary.
It is your responsibility to check all ingredients for allergies, intolerances, or dietary needs before cooking. Our Beautiful Chaos is not responsible for any reactions or outcomes from the use of these recipes.
Nutritional information is an estimate only.
– Julie from Our Beautiful Chaos
Equipment
Available on Amazon.com [ad]
- Blender
- Measuring spoons
- Glass jar or airtight container
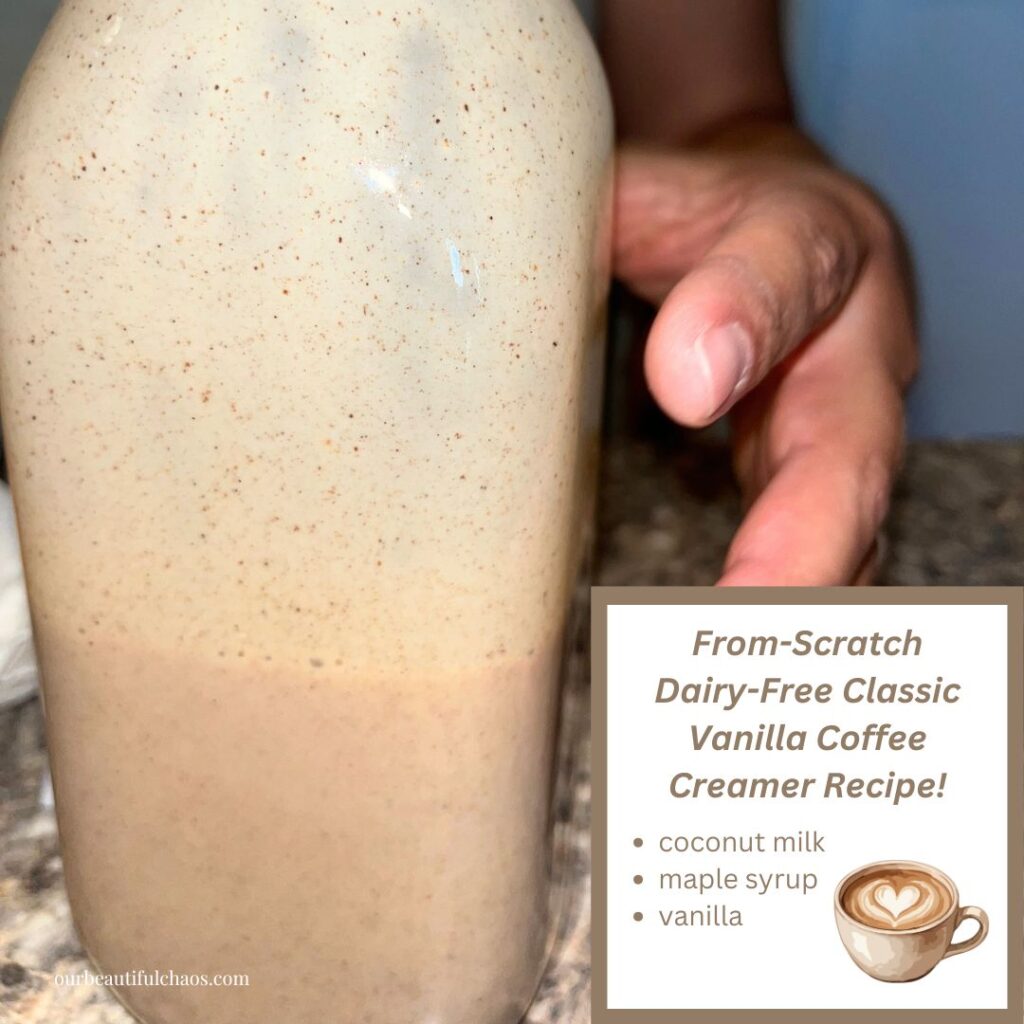
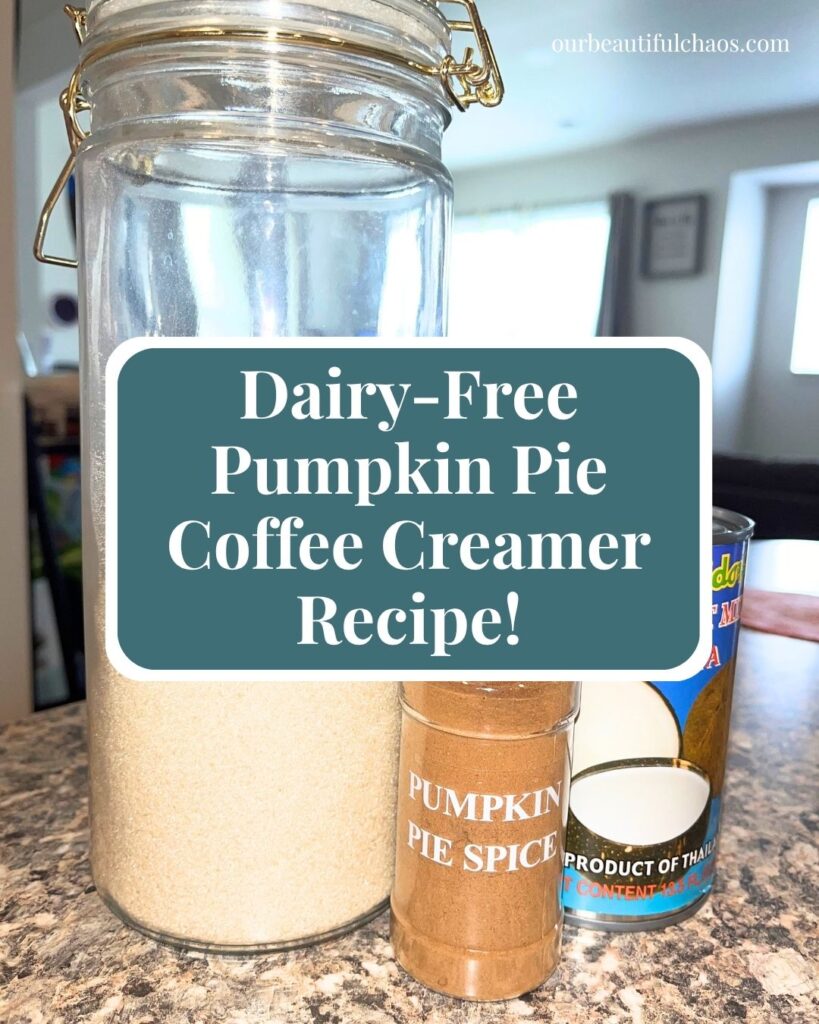
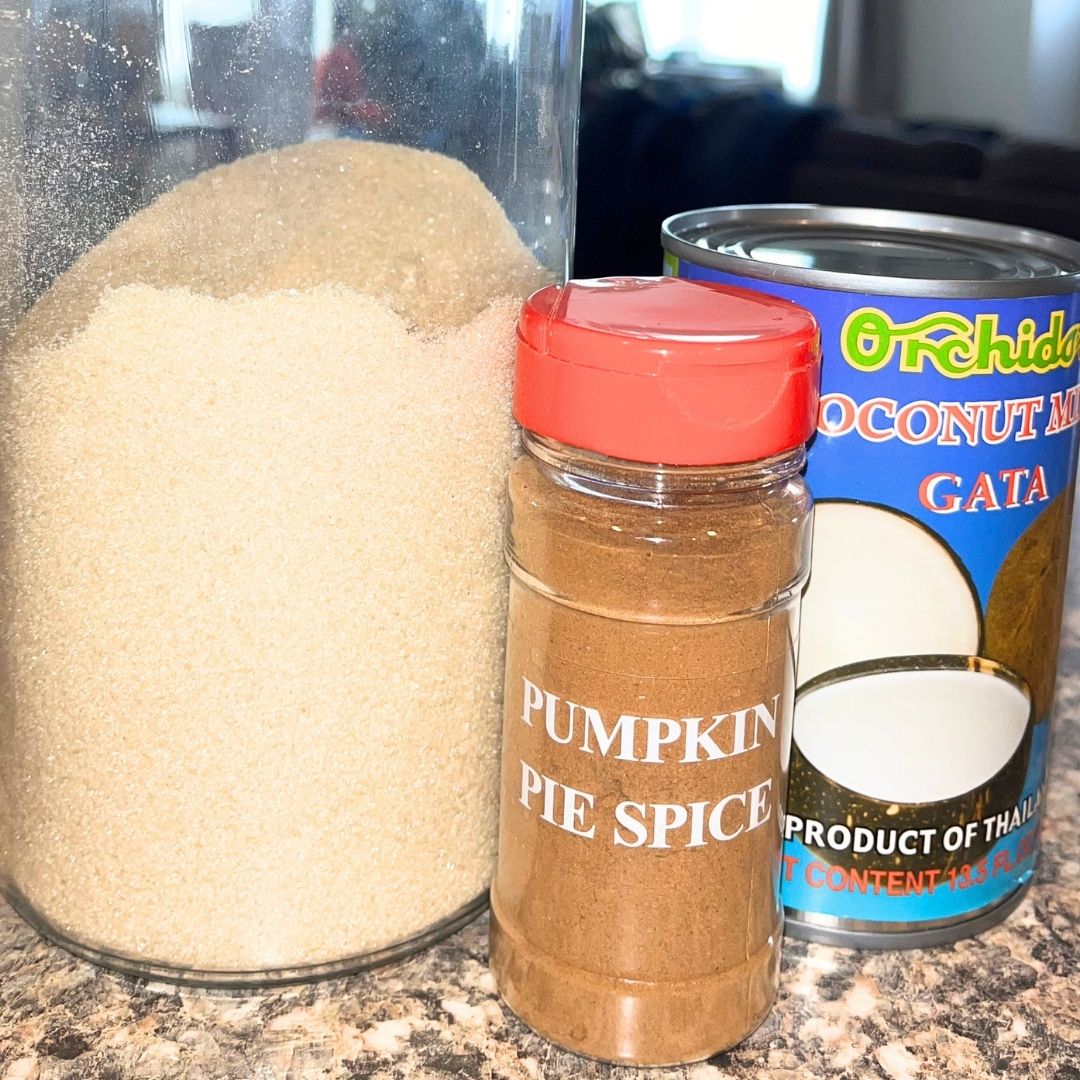
Ingredients
Makes 8 – 10 servings
- 14 oz coconut milk (most store bought cans will be 13.5–14 oz, either is fine)
- 3 tbsp maple syrup
- 2 tbsp vanilla
Step-by-Step Instructions
Step 1
Pour the coconut milk into your blender first.
Blend for about 30 seconds until completely smooth and creamy with no lumps remaining.
Canned coconut milk naturally separates in the can, so this step helps create a silky smooth base before adding the other ingredients. It also helps the finished creamer stay better combined in the fridge later.
Step 2
Add the maple syrup and vanilla.
Blend again on high for 60–90 seconds until fully combined and creamy.
This extra blending helps everything emulsify beautifully without needing to heat the creamer on the stove.
Step 3
Pour into a glass jar or airtight container and refrigerate.
Shake before each use and enjoy in coffee, cold brew, or tea.
Notes and Troubleshooting
Notes
- Full-fat coconut milk gives the creamiest texture and richest flavor.
- Blending the coconut milk first helps create a silky smooth creamer base.
- Vanilla gives this creamer that classic cozy coffee shop flavor without needing lots of ingredients.
Troubleshooting
My creamer separated in the fridge
That’s normal for homemade dairy-free creamers. Just shake before using.
My creamer tastes too strongly of coconut
Try adding a little extra vanilla or using a lighter coconut milk next time.
I want it sweeter
Add another tablespoon of maple syrup to taste.
Storage
- Store leftovers in an airtight glass container in the fridge for up to 1 week.
- Shake well before each use for the best creamy texture.
Serving Ideas
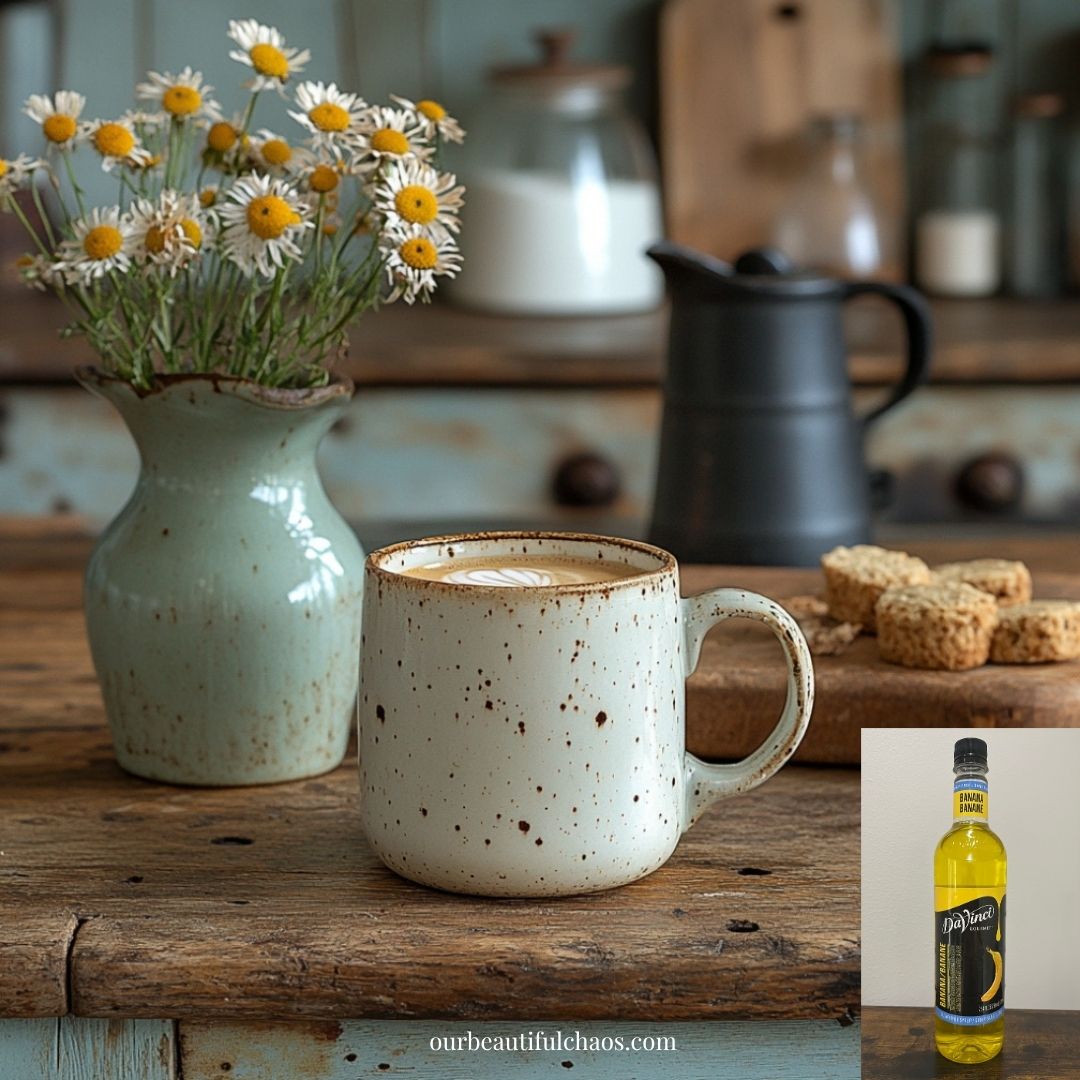
- Stir into hot coffee for a simple homemade vanilla latte vibe
- Add to iced coffee or cold brew
- Mix into chai tea for extra warmth
- Pour into oatmeal for cozy vanilla flavor
- Add a splash to homemade hot chocolate
Why You’ll Love This Recipe?!
- Only 3 simple ingredients
- Dairy-free and allergy friendly
- Budget friendly compared to store-bought creamers
- Smooth creamy vanilla flavor
- Perfect for busy mornings
- Easy to make with simple ingredients
FAQ’s
Does this taste strongly like coconut?
Not heavily. The vanilla helps balance the coconut flavor beautifully.
Can I use honey instead of maple syrup?
Yes, although maple syrup gives the smoothest flavor profile in this recipe.
Can I make this sweeter?
Absolutely. Adjust the maple syrup to your own taste preferences.
Can I freeze homemade coffee creamer?
I do not recommend freezing because the texture may separate after thawing.
I don’t need to be dairy-free – can I make this with cows milk?
Of course – change it up however you feel like, just keep the ratios the same. Mona from Far From The Farm has some great traditional homemade coffee creamer recipes you can check out too!
From-Scratch Dairy-Free Classic Vanilla Coffee Creamer Recipe!
Equipment
- Blender
- Measuring spoons
- Glass jar or airtight container
Ingredients
- 14 oz coconut milk (most store bought cans will be 13.5–14 oz, either is fine)
- 3 tbsp maple syrup
- 2 tbsp Vanilla extract
Instructions
- Add coconut milk to blender and blend for 30 seconds until smooth.
- Add maple syrup and vanilla.
- Blend on high for 60–90 seconds until creamy.
- Pour into a glass jar and refrigerate.
- Shake before using.
Notes
- Store in fridge up to 1 week.
- Full-fat coconut milk gives the creamiest texture.
- Adjust sweetness to taste.
Storage
- Store leftovers in an airtight glass container in the fridge for up to 1 week.
- Shake well before each use for the best creamy texture.
Related Recipes
- Find more Pumpkin Recipes Here!
- Here’s all our delicious and easy Coffee Creamer Recipes!
- Check out all our Dairy-Free Recipes Here!
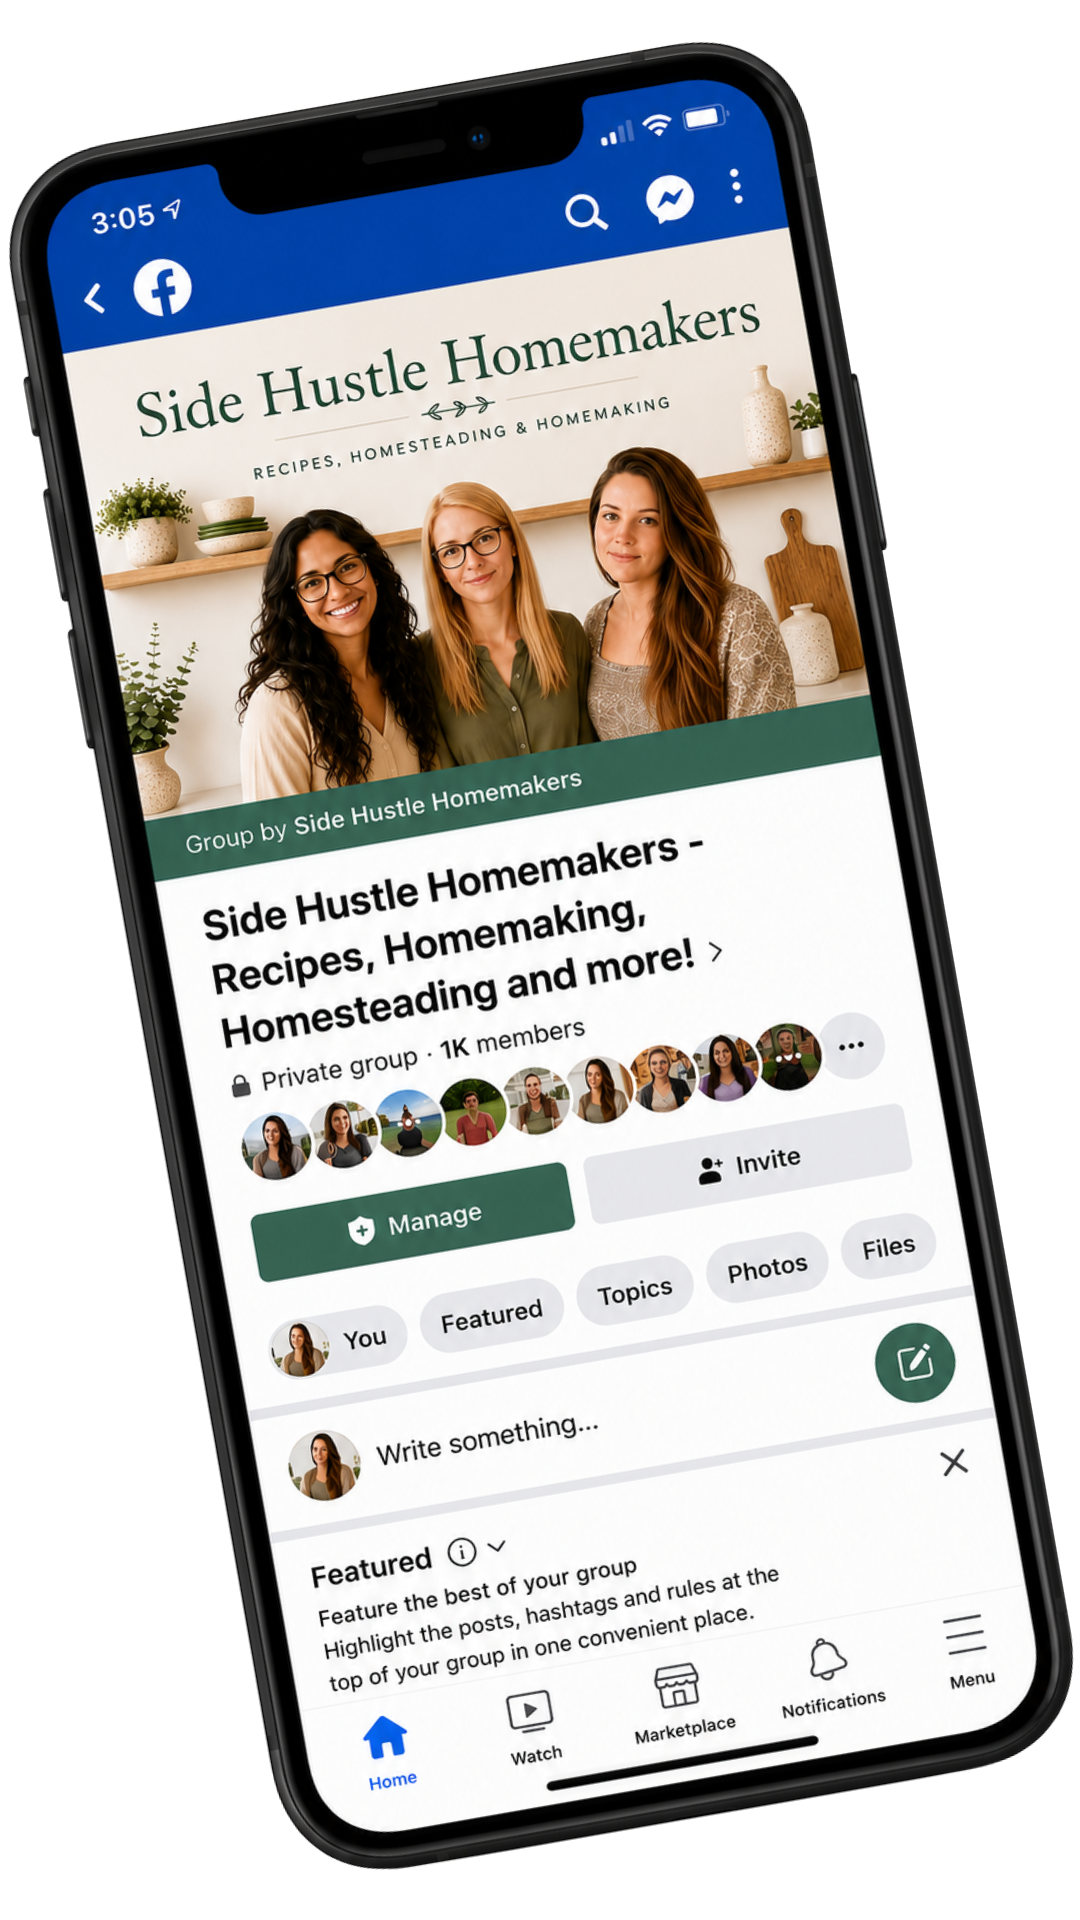
Join our community!
It’s so important to be part of a community that not only understands you but that champions you, encourages, challenges and cheers you on. We couldn’t find one – so we created it instead!
Join the Side Hustle Homemaker’s team Sam, Mona and I over at the Recipes, Homesteading & More! Facebook group for Food Blogging Tips, Homesteading and Homemaking content and encouragement!
We’re 3 very different US/UK military families who met and became instant forever friends.
We created the group to share real life around recipes, food blogging, homemaking, military life, homesteading and more. Head on over, say Hi, share your recipes, homemaking tips and gain some friends and knowledge along the way!
The Takeaway
This homemade dairy-free vanilla coffee creamer is one of those simple little recipes that makes everyday life feel easier and cozier at the same time. The coconut milk creates a creamy smooth base while the maple syrup and vanilla give it that classic comforting coffee shop flavor.
I especially love how practical this recipe is for our dairy-free military family life. It uses affordable ingredients, takes only minutes to make, and skips the unnecessary additives found in so many store-bought creamers.
Sometimes the simplest homemade staples really do end up becoming the most-used recipes in the kitchen!
What To Make Next?!

Share & Rate This Recipe!
If you tried this recipe, please share your feedback with a quick star rating or comment below. And if you loved it, don’t forget to share it with friends and family too!

2 Comments